How Much Coverage Do I Need?
The number of acoustic panels you need will depend on what your goals are. Every room is different, so acoustic treatment strategies will vary. It’s up to you to determine what your space needs most. First, let’s define some common terms.
Think of a room’s acoustic characteristics as live and dead. For a very live room, think of a gymnasium with hardwood floors and brick walls, or a tiled bathroom: very echoey and generally loud. A dead room is the complete opposite, where there is no reverberation or echo.
If you’ve ever built a pillow fort, or held the blanket over your head while in bed: those are dead acoustic spaces. Think of acoustically live and dead as a kind of continuum, with live (gym) on one end, and dead (pillow fort) on the other.
To measure how live or dead a room is, we use a standard measurement called RT60. This measures how long it takes a room’s sound pressure level to be reduced by 60dB. If the measurement is .5, it takes half a second for the room to go from loud to quiet. .5 would be considered a dead room. A live room like a cathedral will have an RT60 in excess of 2. Acoustic panels help reduce the RT60 measurement of your room.
Keep in mind that a low RT60 does not necessarily always mean a room is good for producing, because RT60 doesn’t account for frequencies. For example: If you have an RT60 of 0.8, but high frequencies decay faster than that, and the low frequencies are the longest to decay, it’s not going to sound that great. RT60 is only part of the equation.
Also, keep in mind that the goal of Acoustic Treatment is not to simply deaden the space. A padded cell is usually not ideal. The goal is to tune the room to tighten up the soundstage in your mixes and make your recordings sound better, because your room is giving an honest account of what your studio monitors are playing back, and the performances you record.
Coverage Examples
First things first: If your floor is made of hardwood, tile, or concrete, put down an area rug. This will mitigate floor reflections.
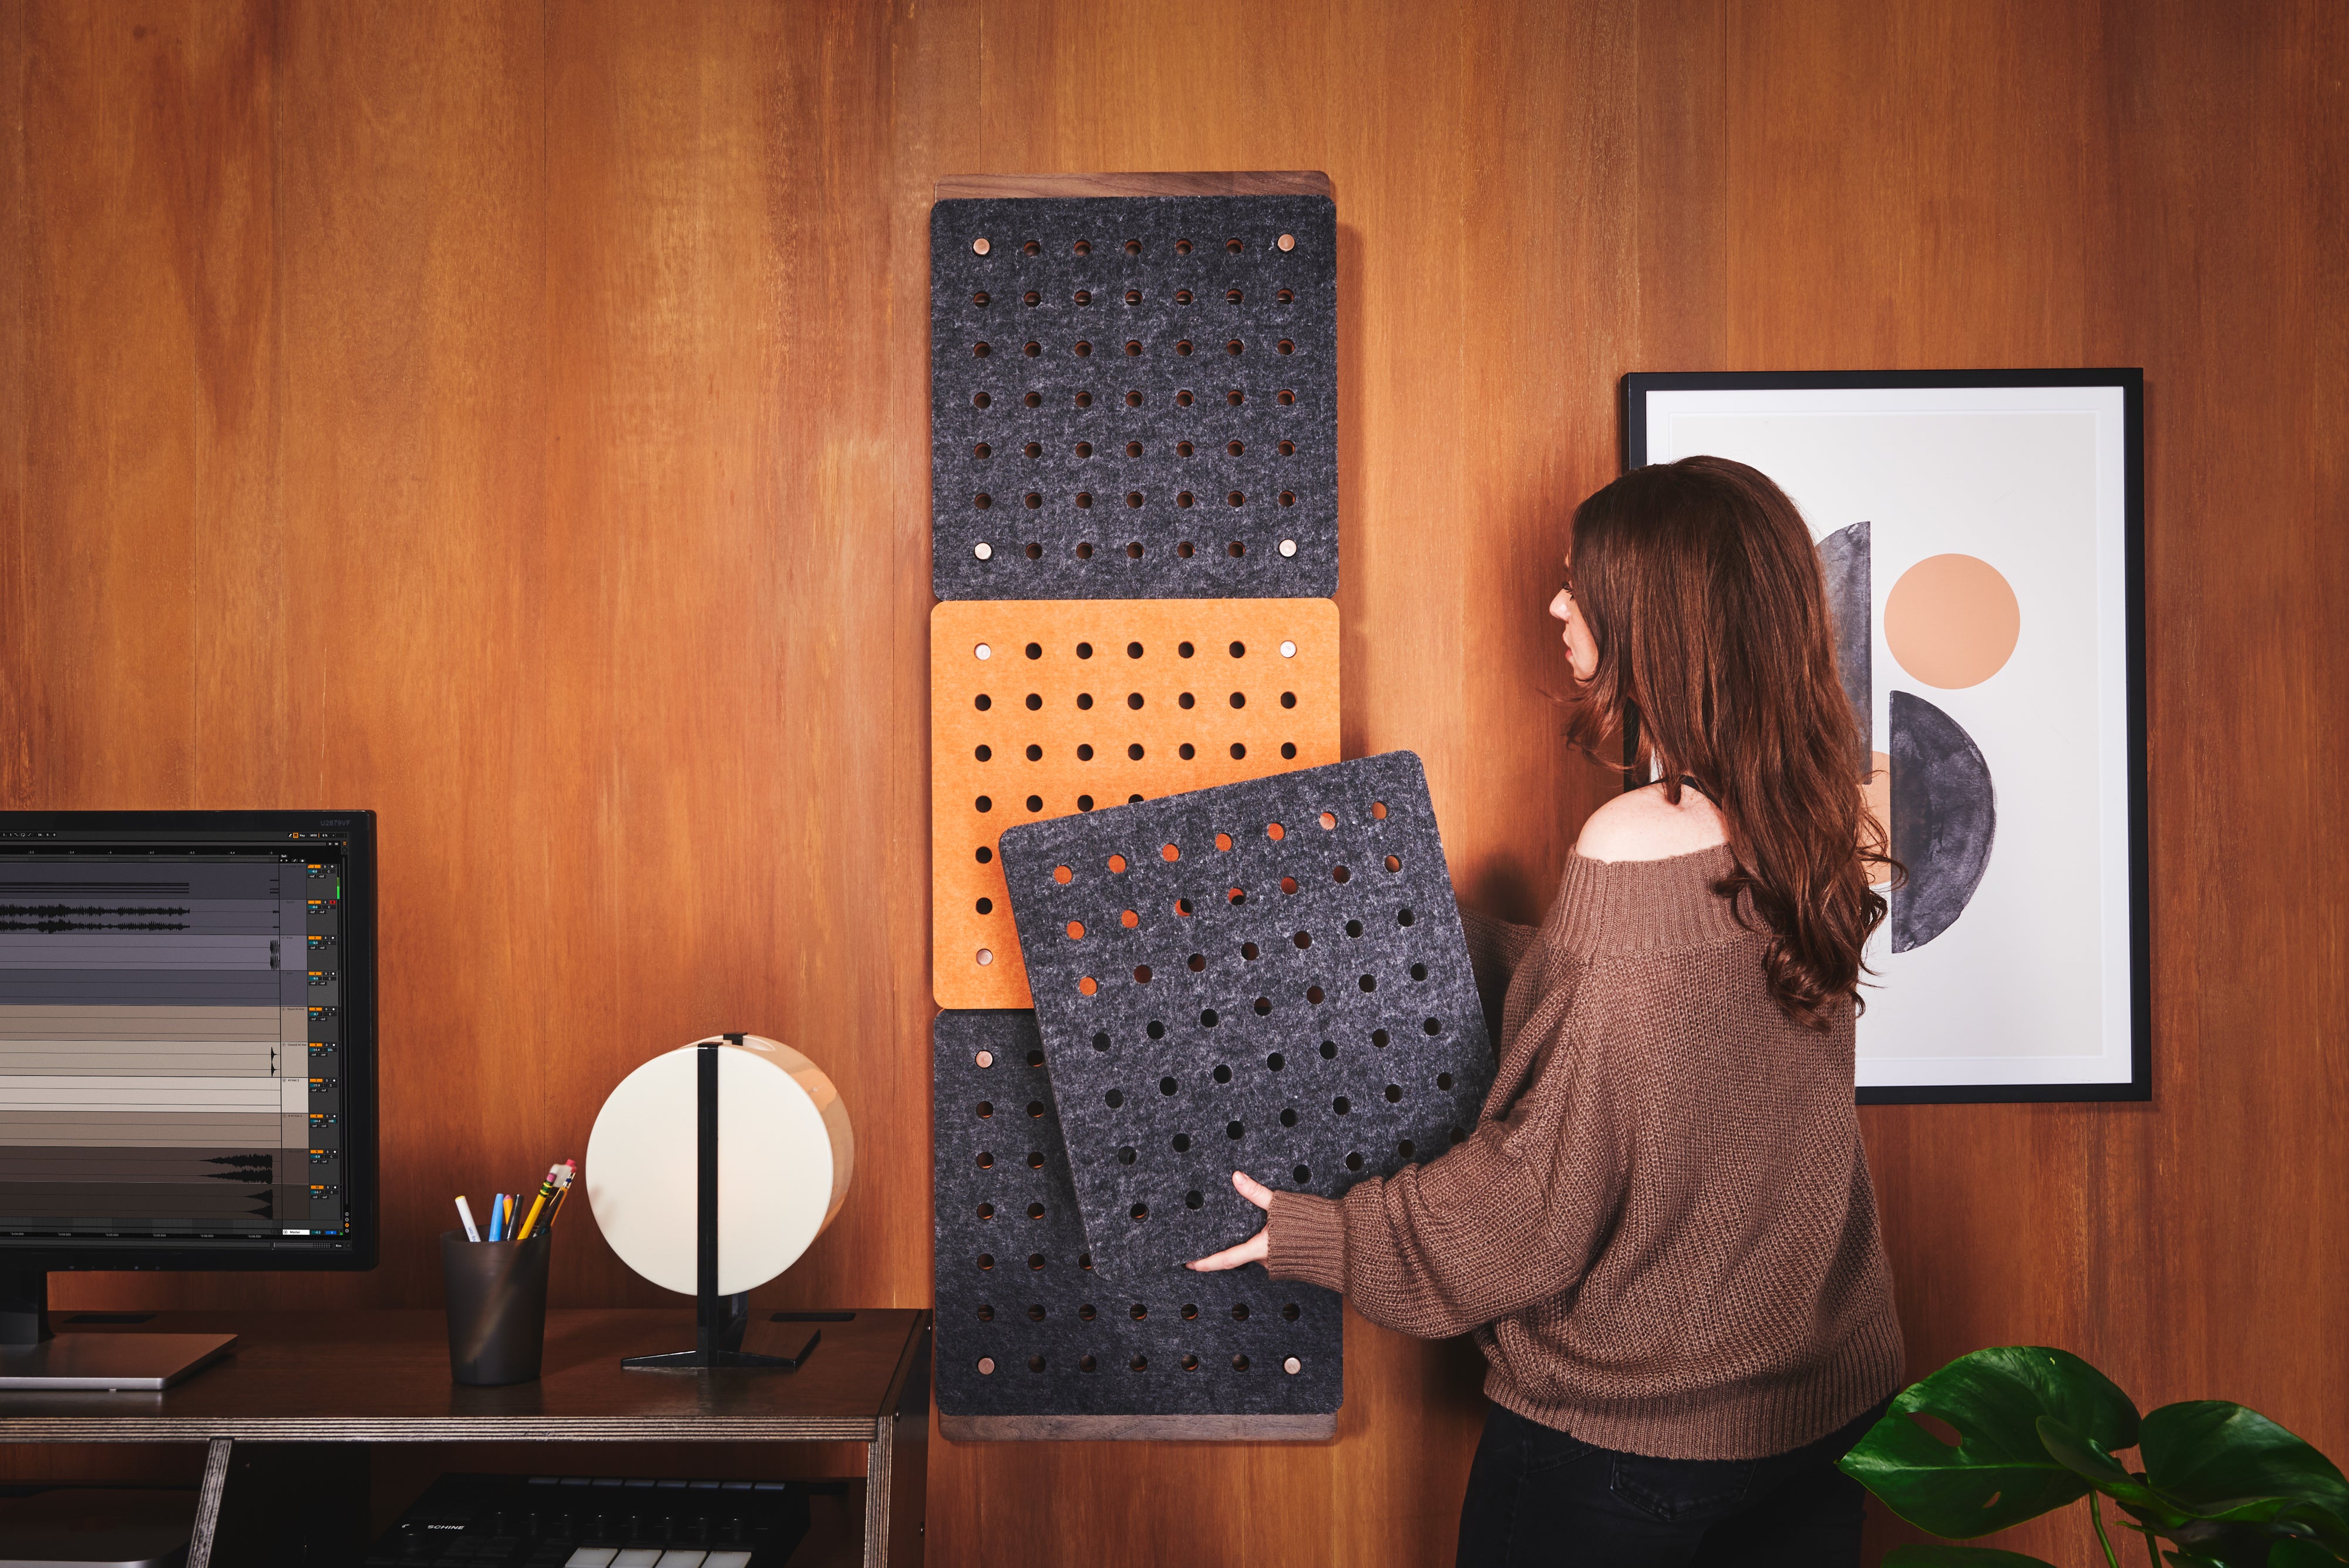
If your goal is to clean up early reflections and focus the mixing soundstage, a single Absorber pack will accomplish that. Install one column to the left and one to the right of the mixing position in the reflective zone, and two behind the producer to take care of flutter echo. This will also lower the RT60 in the room.
Example: A 12x12 drywall room with hardwood floor, no rug, and a 10-foot ceiling will have a baseline RT60 of about 1.7. One Absorber pack will lower that RT60 to 1.07. This is the RT60 of an average cinema, so it makes a difference, but isn’t a completely dead room.
Getting a double-width pack of panels, or a stack of two single-width Absorber packs, would take the RT60 down to around .8. This is a much more dead-sounding space, but not quite a vocal booth.
If your goal is to clean up the soundstage and improve bass response, add a Bass Trap pack to the single Absorber pack.
To make the room sound more dead, you can add more Absorber packs, or get add-on acoustic panels to stack two panel layers per column. In nearly any room, placing an Absorber panel every twelve inches will get the RT60 of your room under .3, which is as dead as a broadcast booth.
However, if your goal is a dead room, you absolutely need a Bass Trap at each corner, or it will be a very boomy-sounding dead room, which is not desirable.
To really want to open up your sound, add a Diffuser directly behind the mix position.
For the best mixing and recording experience, you’ll want to add additional Panels and Bass Traps: Absorbers to take care of unwanted reflections, a Bass Trap pack to take care of the muddy bass, and a Diffuser to give the mixing position a greater feeling of space, improve stereo imaging, and imbue a more pleasant liveliness to the room.
Two panels from the Absorber pack can be placed the cloud position to combat ceiling reflections. This room will still have some liveliness to it, but it will be focused, and not muddy.
In general, larger rooms will need more coverage if the goal is to make it dead, but as mentioned earlier, a single well-placed Absorber pack will go a long way in focusing up the soundstage and improving the clarity of your mixes and recordings.


